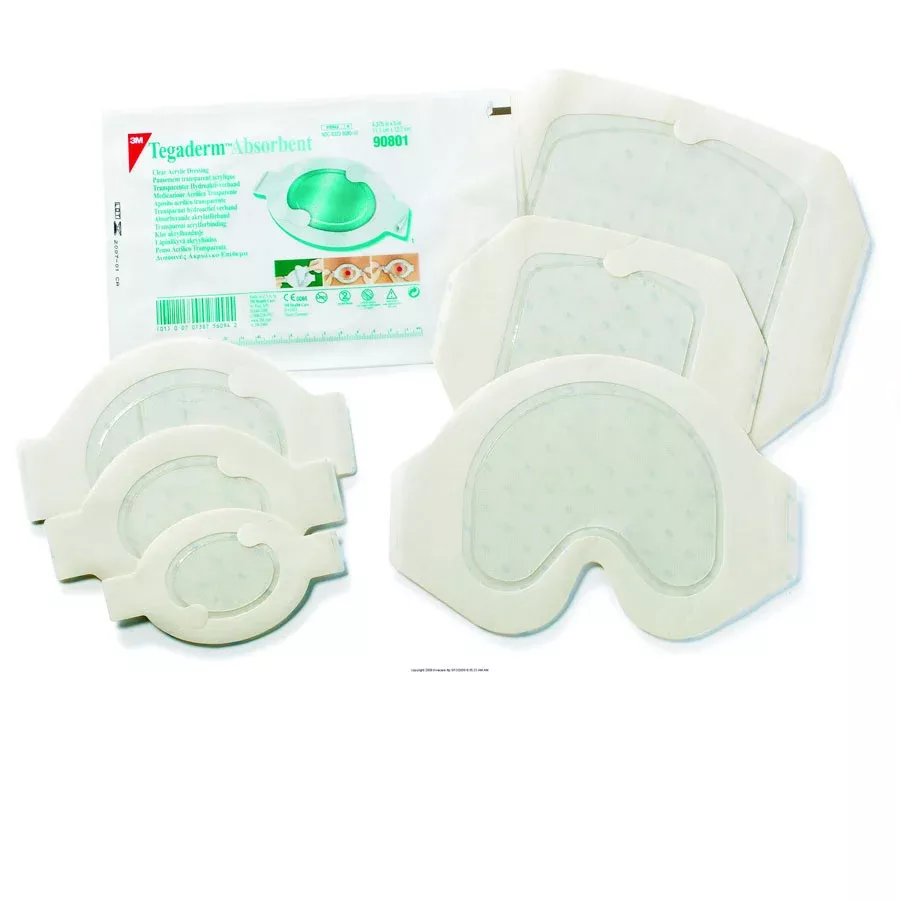
Tegaderm Acrylic Transparent Dressing Features
- Maintains a moist wound environment, which has been shown to enhance wound healing
- Moist skin adhesive formulation provides secure yet gentle adhesion
- May eliminate unnecessary dressing changes
- Eliminates hydrocolloid-related odor
- No dressing breakdown in the wound
- Easy to center to the wound and apply
- Gentle removal from skin
- Hypoallergenic and latex-free
- Dressing designed not to melt down or leave residue
- Non-bulky design to help prevent dressing roll or lift due to friction from linens, clothing or prosthetics
- Allows for one-handed placement
- Low-friction surface minimizes potential for friction and shear
- Low potential for peri-wound maceration
- Less frequent dressing changes reduce the risk of skin trauma
- Washable can easily wipe off stool, urine or other contaminants
- Waterproof allows patients to bathe or shower
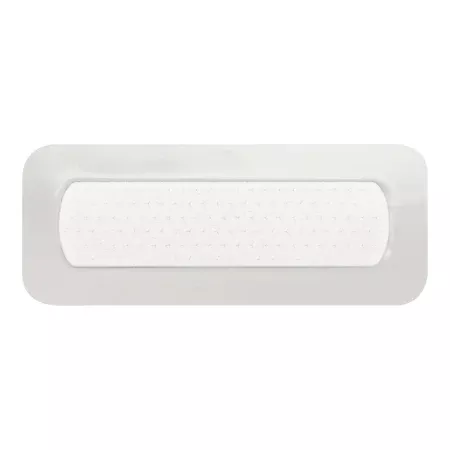
- Transparent dressing allows for wound monitoring without changing the dressing
- Clear design takes the guesswork out of application over the wound
- Novel acrylic polymer pad technology designed to handle low to moderate wound drainage
What to buy with 3M Tegaderm Absorbent Clear Acrylic Dressing
- 3M Cavilon No-Rinse Skin Cleanser
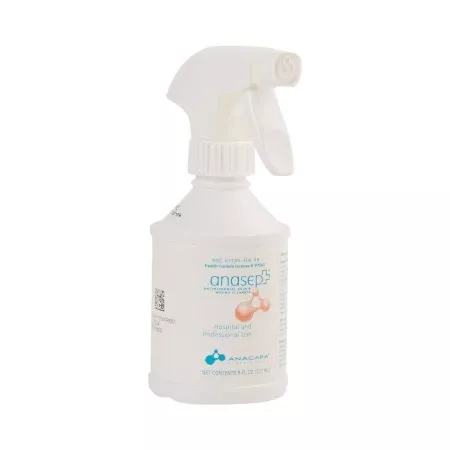
- 3M Wound Cleanser
- 3M Micropore Surgical Tape – White
How to use Tegaderm Clear Acrylic Dressing?
Prior to application:
- Note: Follow facility guidelines for infection control
- Clip excess hair for best adhesion and patient comfort
- Clean the skin and wound thoroughly
- Allow the skin to dry before applying the dressing
- If the patient’s skin is easily damaged or drainage is expected to go beyond the wound edge, 3MTM CavilonTM No Sting Barrier Film may be applied
- Evaluate the wound and select the correct dressing size so that 1cm (3/8″) of the absorbent pad extends beyond the wound edge
- Dressings are not intended to be cut
Dressing Application:
|
Step 1. Hold the dressing by a tab and peel the liner from the dressing, exposing the adhesive surface |
||
| Step 2. Hold the dressing by the tabs and center the dressing over the wound, adhesive side down. Avoid stretching the dressing. | ||
| Step 3. Gently press the dressing in place, smoothing from the center outward | ||
| Step 4. Slowly remove the paper frame while pressing down and smoothing the film border to ensure good adhesion |
Dressing Application: Sacral Design
- Step 1: Fold the dressing in half with the liner side exposed
- Step 2: Holding both tabs with one hand, remove the liner
- Step 3: Spread buttocks to get a better surface for dressing placement. While still holding both tabs, position the dressing over the wound, tilting the dressing toward the anal area.
- Step 4: Secure the dressing notch in the anal region first and press in place
- Step 5: Press the dressing in place from the center outward. Avoid stretching the dressing or the skin
- Step 6: Remove the dressing frame, starting at the top and gently pulling down. Do not lift the film edge. Smooth the dressing in place from the center outward. Repeat until all sections of the frame are removed.
Dressing Application – Overlap Technique
The dressing may be overlapped to cover large and/or multiple areas of skin damage
- Select a dressing size to adequately cover wounds. Apply the first dressing per steps 1–4 in the Dressing Application
- Overlap the second dressing as needed to cover the remaining wounds
- Gently press the dressing in place, smoothing from the center outward
Removal Technique:
- Carefully lift the film edges from the skin. If there is difficulty lifting the dressing, apply tape to the edge and use tape to lift. For surgical incisions with incision closures such as adhesive wound closure strips, sutures, or staples, provide extra caution to avoid removal of these closure devices.
- Continue lifting the film until all edges are free from the skin surface
- Remove the dressing slowly, folding it over itself. Pull carefully in the direction of hair growth
Considerations and Precautions:
- Treatment of any wound should be part of a well-defined plan under the supervision of a healthcare professional
- When using this dressing, the wound may initially appear larger in size and depth as unnecessary tissue is cleaned away. This increase should be accompanied by an improved appearance of the wound. If the wound gets larger after the first few dressing changes, consult a healthcare professional.
- Observe the wound for signs of infection. Consult a health care professional if any of the following are noted: fever, increased pain, redness, bleeding, swelling, unusual odor, increased drainage, or cloudy or foul drainage. Acrylic dressing may be used on infected wounds only under the care of a healthcare professional.
- If irritation (redness), maceration (whitening) of the surrounding skin, or hyper granulation (excessive tissue formation in the wound) develops, consult a healthcare professional
- If the wound does not begin to show signs of healing or if any other unexpected symptoms occur, consult a health care professional.