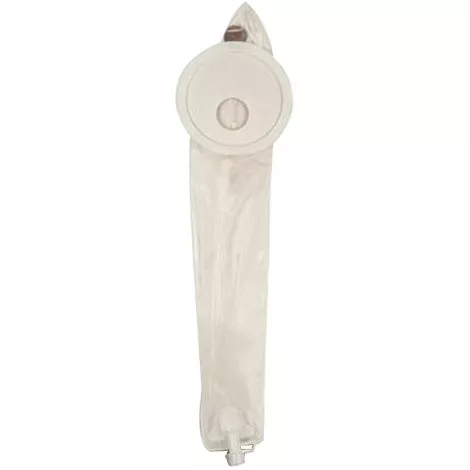
More Information
- Instructions For Use:
– PATIENT POSITIONING:
– The patient should be placed in a side lying position, either right or left side, with the upper knee up toward the chest to expose the perianal area.
– SKIN PREPARATION:
– Cleanse perianal skin well with warm water.
– If soaps or skin cleansers are used, rinse well. Make sure there is no paste residue on the skin from a previous Collector.
– Carefully clip any perianal hair growth close to the skin with scissors.
– Stomahesive Paste may be used to fill crevices and skin irregularities.
– Apply a ring of paste around the edge of the pre-cut opening on the Collector, not on the patients skin and wait approximately one minute before applying the Collector to skin.
– COLLECTOR APPLICATION:
– If necessary, enlarge pre-cut opening on the barrier. The opening should be just slightly larger than the size of the anus to allow for anal dilatation.
– Remove the release paper from the skin barrier only; leave release paper on tape border.
– Fold the skin barrier in half lengthwise to allow for the best application. DO NOT TOUCH THE ADHESIVE WITH YOUR FINGERS.
– Separate the patients buttocks and place the narrowed portion of the skin barrier against the perineum.
– Secure the skin barrier around the anus first and then the area between the anus and the perineal area by pressing firmly and molding the skin barrier with the hand.
– Fit the Collector skin barrier to the area between the anus and the coccyx by pressing firmly and molding the skin barrier with the hand.
– Remove the release paper from the tape border, smooth into place on the top buttock. Smooth tape into place on the remaining buttock.
– If the tape border impinges on the vagina or scrotum, carefully trim the tape border with a pair of scissors.
– Hold firmly in place for approximately one minute to assure a secure fit.
– COLLECTOR POSITION:
– Smooth Collector Pouch material between patients legs, avoiding wrinkling of material or pressure areas.
– COLLECTOR USAGE:
– For Liquid Stool when using bedside drainage: Attach the open cap end of the drainage tap to the end of the drainage tube of a bedside drainage bag.
– For ambulation: Disconnect bedside drainage and close cap.
– For Semi-Formed Stool Cut off lower end of collector immediately above the drainage tap and use the enclosed tail closure to close the Collector.
– To attach the tail closure, fold the tail of the collector over the knife edge of the closure only once.
– Hold in place. Press firmly on raised bar until it snaps securely closed.
– To remove closure, separate knife edges from bar. Open and close the tail closure, as needed, to drain the collector.
– Do not allow the Collector to become more than one-third full.
– Cleaning the Collector:
– The Collector can be rinsed while in place through the bottom with warm tap water until clean.
– REMOVAL OF THE COLLECTOR:
– Gently peel the skin barrier away from the patients skin while applying light pressure on the adjacent skin with your free hand.
– Fold the skin barrier in half so that it adheres to itself and discard in an appropriate waste receptacle.
– The Flexi-Seal Fecal Collector can remain in place up to 48 hours, provided it is secure.